
Use tasks
Keep the small actions behind your schedule in a private, day-by-day checklist. Tasks are separate from scheduled events, so you can plan what to do without adding it to a public or shared schedule.
At a glance
- Tasks are visible only to the schedule owner, send no reminders, and never appear in a public or shared schedule
- Every task needs a 1–200-character title and one schedule day. The editor starts with a day selected, and the owner can choose a different day; notes, color, and the repeat setting are optional
- A schedule can contain up to 250 tasks, including archived tasks
- Settings can show all non-archived tasks, including completed tasks, in the schedule’s all-day area
- Task data follows the schedule’s current local or cloud persistence state. PNG and PDF exports can include open or all tasks, including private titles, notes, weekdays, and status, which anyone given the output can read. JSON exports, direct printing, and public or shared schedule output exclude tasks
- 1
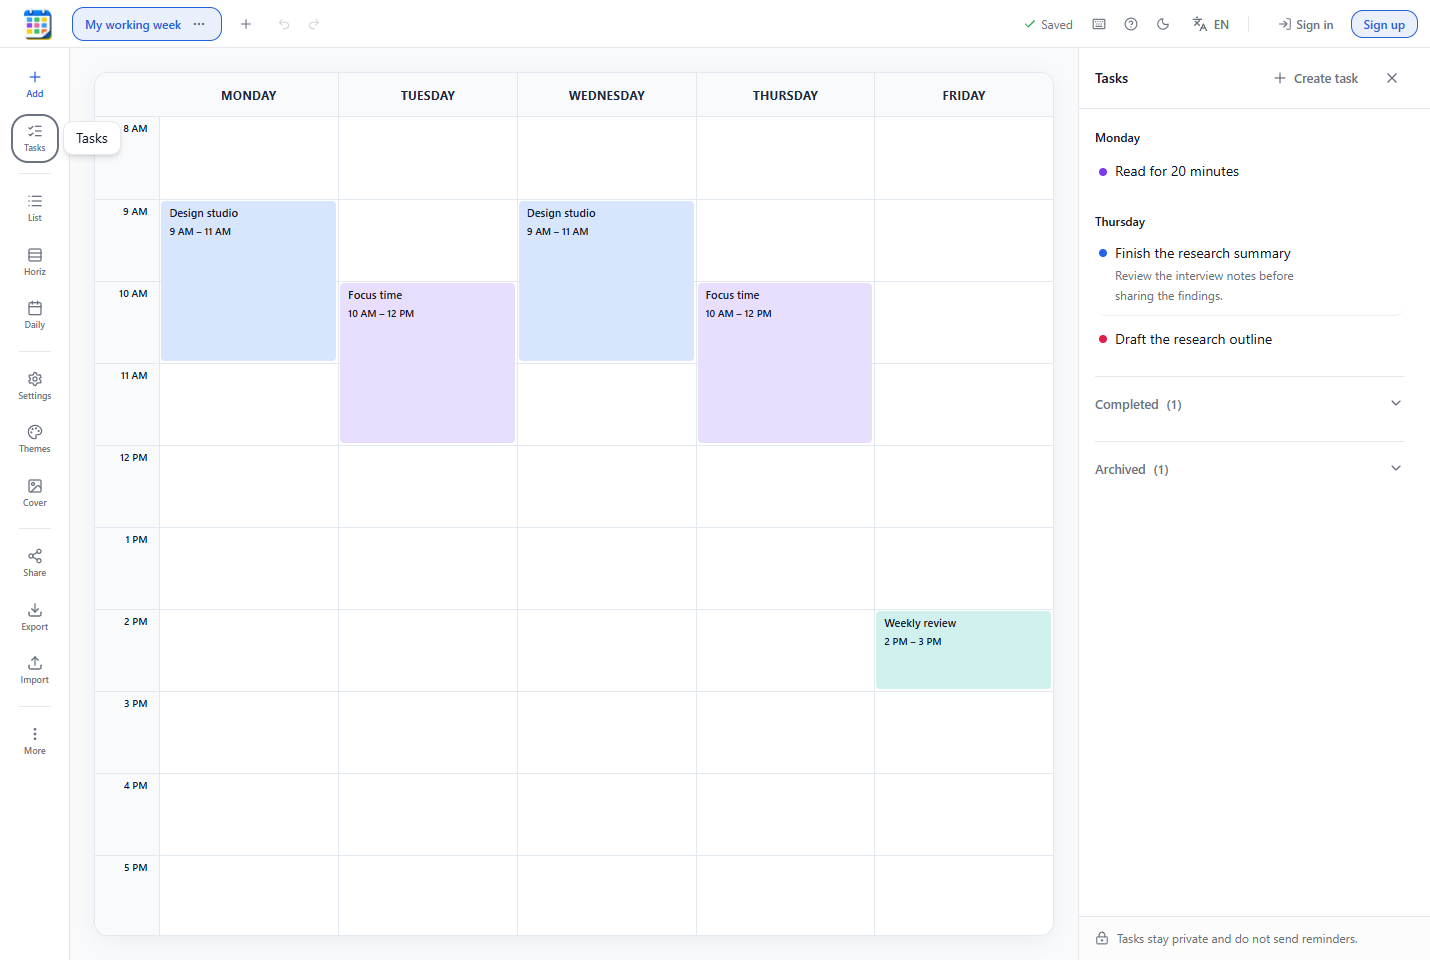
Open the task rail
In the Builder toolbar, open View and choose Tasks. On a narrow mobile screen, open More first. This opens your private task rail or panel alongside the schedule.
- 2
Create a task for one day
Choose Create task, enter a title between 1 and 200 characters, then use the preselected day or choose another single schedule day. Choose Repeats weekly when the task should reopen in a new schedule week. Notes and color are optional; add them when they help you identify the task, then save it.
- 3
Complete, reopen, and order active tasks
Active tasks are grouped by day. Select a task’s checkbox when it is done, or select it again to reopen it. Reorder active tasks on the same day by dragging them or with the arrow keys. A weekly task stays in its weekday group when complete; that completion applies only to the viewed week, and it reopens the next week.
- 4
Archive work you want to keep out of the active list
Edit a task and archive it when it is no longer active. In the archived list, restore it when you need it again or permanently delete it when you do not. Archived tasks still count toward the 250-task limit.
- 5
Choose whether non-archived tasks appear on the schedule
Open Settings to control whether non-archived tasks are displayed in the schedule’s all-day area. This is optional; when the setting is on, it shows all non-archived tasks, including completed tasks.
- 6
Decide what to include in a visual export
In Settings → Export & print, choose whether PNG and PDF exports include no tasks, open tasks, or all tasks. Included tasks can appear as a list, in the schedule’s all-day area, or both. That output can contain private task titles, notes, weekdays, and status, so anyone given it can read them. JSON exports, direct printing, and public or shared schedule output exclude tasks.
Next steps
Add the actions you need for each day, then decide in Settings whether all non-archived tasks should also appear in the all-day area of your schedule.